What would you accomplish with an extra $39,000 per month in your bank account? Well, if you create an e-commerce website properly, you can anticipate making this GIANT sum of money.
However, with the correct ecommerce ideas and best practises, this could become your reality. Of course, there are ecommerce sellers who have not been able to make that much.
However, you must first own and set up an online website in order to start making money. If you want to get a brief idea on this, you may take help from assignment professionals who boast outstanding knowledge on these subjects.
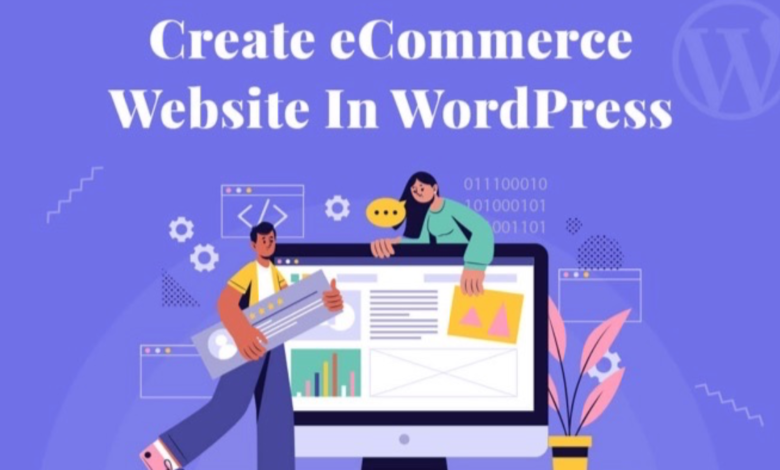
Continue reading to see a step-by-step instruction on how to build an online store using WordPress.
- Obtain the ideal domain name
Essentially, your domain name serves as the address for your website. Remember, that the text highlighted in your URL always comes after the www. For instance, “myassignmenthelp website”.
A domain name can be purchased from several renowned websites. If you’re fortunate, you’ll find that the product you want is offered for nothing or at a reasonable cost ($10–$20/year). If you’re unlucky, it’s conceivable that your perfect web address is already taken or that you can buy it through resale for a much higher price. The most costly domain names will, however, renew after the initial year at the standard cost ($10 to $20/year).
You can take examples of some assignment help websites to get an absolute idea.
In general, it’s a good idea to keep the web address as short and memorable as you can, and as similar to your brand name as you can.
Please note: That the most well-known and powerful domain extension is.com (ending). It’s a wise decision for internet retailers as it allows for global sales. You run the risk of limiting your future expansion prospects if you select a country-specific extension like.us.
- Become a member of a hosting company
After registering your domain name, you should look for a web hosting business.
Every website needs hosting. It’s similar to renting some online space, just make sure you pick a spot with lots of room for growth!
When choosing the best hosting company and the type of hosting you actually need, you must take into account the type of store you are building.
- Put in WordPress
There are two ways to install WordPress:
- One-click installation from your hosting control panel
- Manually download WordPress, then upload it to your hosting account.
- ‘One-click’ installation of WordPress
As you might expect, the first option is the simplest and one that we recommend. Choose a hosting company that offers the benefit of “one click” installations.
All you have to do is go to your hosting dashboard and choose the “Install WordPress” option after signing up with a hosting provider that offers this installation.
- WordPress installation by hand
In the event that your hosting provider does not support one-click WordPress installation, you must first install WordPress to your desktop before transferring it to your hosting dashboard. It’s not as simple, but it’s still manageable.
- Installing and adjusting WooCommerce
The most common WordPress plugin for e-commerce capabilities is WooCommerce. There are more over 4 million installations and over 3,000 users have already given it a rating of 4.6/5. It’s good to say that individuals enjoy it a lot, and it makes sense.
To begin with, it’s free. WooCommerce is an accessible platform created by a community, much like WordPress itself. Even though some “extensions” (such allowing customers to book sessions) may need a cost, you can turn your website into an online store without spending a dime. That contains:
- Items pages
- Checkout and cart
- safe transactions
- Printing labels and shipping choices
- calculating taxes automatically
- Integration with Facebook, MailChimp, Google Analytics, etc.
- Pick a theme
Your “theme” will be the basic layout for all of your web content. You can entirely customise your website using WordPress; however, by changing or adding to the HTML code, you may end up with something that does not reflect the original design.
However, unless you’re an excellent coder who craves complete control, it’s best to choose a theme that closely approaches your planned finished result as possible.
In other words, choose a theme that you like and make it most useful for your commerce website, even if it means paying for an updated template from a third-party website. It will save you time in the long run!
There are other fantastic third-party sites available, but two of the most well-known for selling themes are ThemeForest (huge selection) and Elegant Themes (limited, curated selection).
Once you’ve assembled a substantial inventory of products, it’s time to proceed to more pleasurable chores, such as selecting a theme!
- Include products
Installing Jetpack, the final step in setting up your first WooCommerce configuration, will urge you to add your first product.
It’s fine if you aren’t yet ready to upload. When you return to your dashboard, simply click “Add New” on the left-hand side under “Products”:
Product creation with WooCommerce
The type of product you’re adding will dictate how it’s added to your website.
WooCommerce’s excellent documentation explains the description of each product type and provides advice on how to publish each type.
- Install more plug-ins
Here are some plugins for online stores that we particularly recommend in addition to WooCommerce:
Yoast for SEO advice, to start
If no one can find it, having the greatest online marketplace in the world won’t mean a thing! Enter Yoast SEO, a helpful plugin that will aid in your ascent through search engine results, providing you with the best opportunity to land on page one.
Security with Securi
When you accept credit cards, the risks to the security of your website increase. Even though free security plugins (such as Wordfence) are available, we believe this is an area where a little extra money should be spent. To use the Securi plans, which start at $199 a year, the free plugin from the WordPress plugin directory must be installed.
Reviews on the website
Social proof has been repeatedly demonstrated to be one of the most important factors in influencing consumers to take the desired action, which in this case is to buy your items. Once Site Reviews is implemented, customers will be able to leave reviews on your website.
Wholesale for WooCommerce
This excellent WooCommerce extension transforms an online store into a hybrid B2C+B2B platform. That means, with this plugin, you can also attract wholesalers and offer special discounts to buyers who purchase products in bulk quantities. This plugin is the best solution if you want to increase your sales by operating as a retailer and wholesaler.
Currency Switcher for WooCommerce
Thanks to eCommerce, you can easily purchase goods from across the border. In fact, the cross-border buying trend is growing rapidly, and you need to start accepting different currencies on your site to facilitate your audience. With the help of the Currency Switcher for WooCommerce plugin, your customers can pay in their local currencies without calculating currency exchange rates.
- Your website public
When you’re fundamentally satisfied with how your site functions (remember, you can always “Preview” pages to see how they’d look live), it’s time to launch it.
The simple part is now!
Choose “Settings” and then “Privacy.” After you’ve placed your privacy statement, you should be able to make your site “Public.”
Summary,
Let’s have a brief summary of ‘How to Create a WordPress Ecommerce Website?”
There you have it, then! These essential steps to starting an e-commerce website successfully. Let’s review them once more:
- Obtain the ideal domain name
- Become a member of a hosting company
- Put in WordPress
- Set up and customise WooCommerce
- Include products
- Pick a theme.
- Install more plug-ins
- Add conversion-oriented material
- Your website public
Author Bio,
Online tutor Berry Dennis offers homework assistance. He works with MyAssignmenthelp website and provides do my assignment help to students all around the world. Additionally, he enjoys travelling and participating in sports.