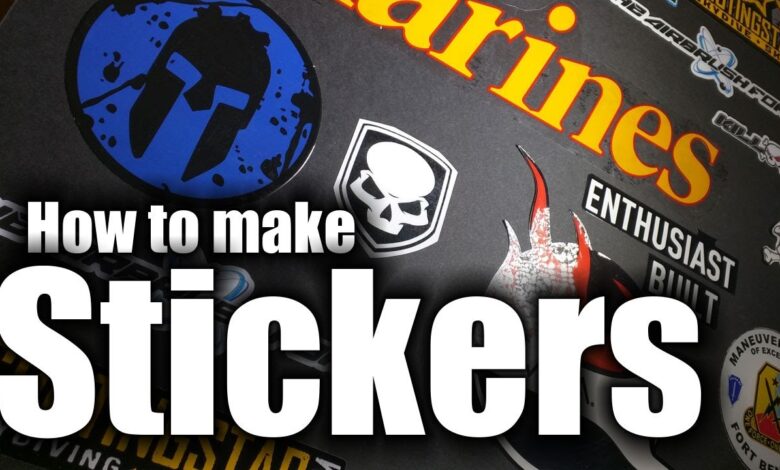
If you’re looking for a creative way to add some personality to your belongings, custom stickers and vinyl stickers are the perfect solution! In this article, we’ll show you how to make your own stickers and vinyl stickers using simple tools and supplies. No artistic skill required!
What are custom stickers and vinyl stickers?
Custom stickers are stickers that are designed specifically for a customer or project. Vinyl stickers are a type of custom sticker that is made from vinyl film. Vinyl stickers are often used to make labels or decals for products.
How to make custom stickers and vinyl stickers yourself
Custom stickers and vinyl stickers are a great way to show your personality and add a little extra flair to any document or project. You can make your own stickers using a variety of materials, including paper, fabric, and even adhesive labels.
To make custom stickers, you’ll need some supplies:
-paper or fabric
-adhesive labels (optional)
-a cutting tool (like scissors or a knife)
-containers for the stickers
To make vinyl stickers, you’ll need the same supplies as above plus:
-vinyl transfer tape (available at most hardware stores)
-a heat gun or hair dryer (to apply the vinyl)
-a printer with compatible vinyl printing capabilities
Tips for making custom stickers and vinyl stickers
Making custom stickers and custom vinyl stickers yourself can be a fun and rewarding experience! Here are some tips to help you get started:
1. Choose a template or design you want to use as your starting point. There are many free online templates available, or you can purchase pre-made sticker templates from online retailers.
2. Decide on the size and shape of your stickers. Most custom stickers and vinyl stickers come in rectangular, square, or triangular shapes. Be sure to measure the dimensions of the template before starting to create your sticker!
3. Use a graphics program like Adobe Photoshop or GIMP to create your designs. You can also use free online tools like PPToolkit or StickerMule to create your designs digitally.
4. Print out your finished designs on standard printer paper using either inkjet or laser printing technology. Make sure the quality of your prints is high – low-quality prints will result in poor-looking stickers!
5. Apply adhesive labels to each side of the printed stickers using a glue stick or liquid adhesive (depending on the type of sticker). If you’re using pre-made templates, simply peel off the protective backing sheet and apply the sticker to desired surface.
Conclusion
If you’re interested in making custom stickers and vinyl stickers yourself, our guide will show you how to do it quickly and easily. Whether you need a logo sticker for your car or just some labeling for your kitchen cabinets, our step-by-step guide has everything you need to get started. Plus, if you make a purchase through one of our links, we will give you a percentage of the sale as a thank-you!